It was the unbirthday of a very lovely young lady recently, and thusly costume was donned.
I, in my ever-occurring tardiness, found that the originally planned birthday suit sadly no longer fit. The awesome silk dress did, though, and the rabbit ears inspired me. Meet the blackandwhite rabbit!
Now, those closeups were taken about 12 hours after the party. Here's how we did the original!
Naked, moisturized, clean face. I lovelovelove the rosewater mist - it refreshes a clean face and helps calm any ickies you may have going on. So after you're all rosy, you wanna get your tools in order! (Have ya'll noticed a pattern? Get clean and organized first? Yay-yeah. That's how we roll.)
Random silver glitter liner? Check. UDPP? Check. NYX Jumbo Crayon depotted into 5g jar in Pots and Pans? Check check. MSC "Up in Smoke" black, light grey and white? Check. Black kohl liner? Check. L'Oreal Telescopic Mascara/waterproof? CHECK! Okay, we've got our product. Now to our tools!
The top is a standard-sized fluffy shadow brush. They get more compact and smaller as they go, as you can see with your very eyeballs.
That's it. Oh, you'll need your fingers. Yes, darlings, we will be channeling our inner kindergartner today!
So, smoosh on your UDPP or other preferred primer. Let it dry.
Then...
Line first! GASP! Seriously - line your lower lash line. You'll come back to this at the end again, I promise.
Dip your (CLEAN!) finger in your pot of Pots and Pans. Take a better photograph than me.
Apply and blend on lid. You want a look like this when you're done:
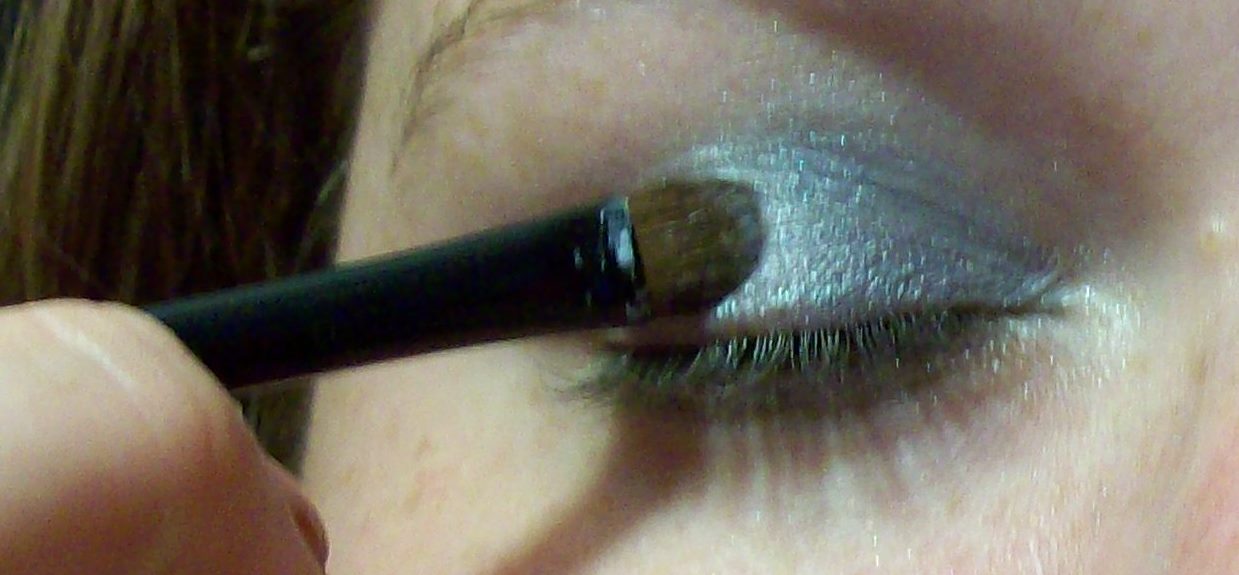
Okay. Now you start out with the light matte gray. Jalackie doesn't really like mattes - they set my teeth on edge - but it's worth it for this look. Additionally, Mo's mattes aren't as bad as most. Even most pressed shadows bother me more than her matte did.
You're going to want to use the middle brush for this part.
Build that up in the duct and pull outward creating a gradient.
Then grab that black.
You wanna use your tiny brush, here. Trust me. A dollop will be too much. Pick the black up evenly on the tip of the brush, and then tap it out, and blow gently on the brush before you touch it to your eyelid.
Pat gently in the crease and down to the outer corner of the eye. Don't worry about filling in the gap necessarily - just remember the rule that goes with blacks and other deep colors: you can always add more, but you can't take off a little.
Can you believe that's all the color from that spotty bit of black up there? Using another clean finger, I blended down and out to finish the gradient. We're all about gradients over here, and zero lines of demarcation.
So, now that you've got that taken care of, you're going to apply your white, and you're going to do that to the orbital bone, starting just above your tear duct. THIS is where your thick fluffy brush comes in:
Blend in all directions, remembering to "pull" the white into the grey and black, whilst being careful to not muddy up the white.
Now, we'll pull out some surprise tools!!!!!
That, my darlings, is
AWESOME SAUCE over on the left. It's a glycerine based blending medium, produced by
Madd Style Cosmetix. Boooy howdy is it awesome. Next to it is a medium round, pointed brush, and a pot of MSC's KICK ASS pigment. No, that's not just an adjective; it is the pigment name, as well.
You only need a miniscule amount of Awesome Sauce. What I have on the back of my hand is actually about a half more than I need.
I dipped my brush in the Awesome Sauce so I could pick up the Kick Ass.
Then I blended the pigment with the Awesome Sauce until I found a happy consistency, which was that of about commercial acrylic paint. If you don't play with paint, then you're screwed for a description. Play and find your own! :D
After I got the pigment blended, I came in and lined the top lash line with the Kick Ass like so:
Slightly tapered so that it's thickest in the middle. Just a little pop of color in an otherwise monochromatic theme for the day.
Mascara and here's where we tend to the eyeliner, finally! Using the glitter liner, I simply sealed the kohl liner with a thin coat of the glitter liner for a little extra sparkly!
I also took the opportunity to dramatize my brows, filling them in with the black from the UiS collection and the small shading brush. I also went ahead and donned my mascara.
After that, I called it done and off we went away!


I love the glitter liner it gives it an extra flashy touch to it! I am now following you from the hop and would love a follow back
ReplyDeletehttp://mizzreviewlady-mommyreviews.blogspot.com/
Thanks :)
Very creative ... love the bunny Look ;)Did not know that reviva has arosewater face mist ... must try it ... I love most of their products :) Thanks for following ... You have a new follower on GFC !! Of you want a new follower on twitter... follow me .. Will follow back:)
ReplyDelete